Your First Four Candies: A Beginner’s Path Into Confectionery
If you’ve landed here, odds are you’ve been watching candy videos and thinking one of two things: “I want to make that” or “There is no way I could make that.” Maybe both at once.
The second one is wrong.
Candy making isn’t some mysterious art reserved for professionals with expensive equipment and culinary degrees. It’s a skill. You build it one step at a time, and the steps aren’t as intimidating as they look from the outside.
So here’s my personal beginner’s path: four recipes, in order of increasing difficulty. Each one builds on the last and prepares you for what’s next. All four are good enough to share, which is honestly the whole point.
Step 1: Kit Kats – Your First Win
Skill: melting and dipping chocolate
If I could only send a first-time candy maker to one recipe, this would be it. The reason is almost embarrassingly simple: there’s no cooking involved. You melt chocolate, you dip sugar wafer cookies into it, and you end up with candy. Real, actual candy.
That’s the whole recipe.
I know it sounds too easy. That’s the point. Your first time in the candy kitchen shouldn’t be a stress test. It should be a win. And when you bite into a homemade Kit Kat and realize you made that, something shifts. You go from watching candy videos to making candy, and that’s a different thing entirely.
The melting and dipping skills you pick up here show up constantly: in truffles, coated honeycomb, or anything else you think needs a coating of chocolate. Start here.
Step 2: Peanut Butter Fudge – Learning to Read Your Candy
Skill: applying heat and knowing when your candy is ready
Still no thermometer. Still no stovetop. But this recipe introduces something that’ll serve you for the rest of your candy-making life: the idea that your candy will tell you when it’s done, and your job is to listen.
This four-ingredient microwave fudge is about as approachable as cooked candy gets. You combine butter and peanut butter, microwave in two-minute intervals, add vanilla and powdered sugar, and stir. The key moment comes when the mixture starts to get hard to stir and loses its sheen. That’s your candy talking. That’s it telling you it’s ready for the pan.
Learning to read that signal, trusting your eyes and your hands as much as any timer, is one of the most useful things you’ll develop as a candy maker. And you’ll learn it here, in a low-stakes environment where the worst that happens is slightly soft fudge.
The result is rich, dense, deeply peanut-buttery fudge that takes about 15 minutes to make and will be gone in far less time than that.
Step 3: Ultimate Chocolate Truffles – Handling a Multi-Step Process
Skill: making ganache, building a filling, and dipping like a pro
No thermometer here either, but this recipe has multiple stages, and managing them in sequence is the new thing you’re developing.
You’ll make a ganache (just chocolate and cream) and let it set. You’ll crush Oreos and combine them with cream cheese into a rich, dense filling. You’ll wrap that filling around a frozen ganache center, roll it into a ball, dip it in chocolate, and finish with sprinkles. The result looks like something from a high-end chocolate shop. These are the candies you bring to a party and don’t bring home.
What this step teaches you, more than any specific technique, is that multi-stage recipes just need a little more patience and organization. The payoff is worth it.
Step 4: Sea Salt Honey Caramels – Welcome to Sugar Work
Skill: using a thermometer and working with cooked sugar
You’re picking up the thermometer here for the first time. But look at what you’ve done before getting here: three successful batches. You already know how to melt chocolate, read your candy’s visual cues, and manage a multi-stage recipe. The thermometer is just the next tool.
These caramels call for hitting 250°F and pulling the pan off the heat the moment you get there, and your thermometer is going to make hitting that target easy.
What you get for that effort is a caramel that tastes like nothing from a store. The honey gives these a slightly floral depth, and the flaky sea salt finish is the kind of touch that makes people ask “where did you get these?” When you tell them you made them yourself, enjoy the look on their face.
Temperature is just a data point. Once you’re comfortable reading it, a huge range of candy recipes opens up to you.
What Comes Next
If you’ve worked through all four of these, you have melting, reading, multi-step processes, and temperature in your toolkit. That’s a candy maker’s skillset.
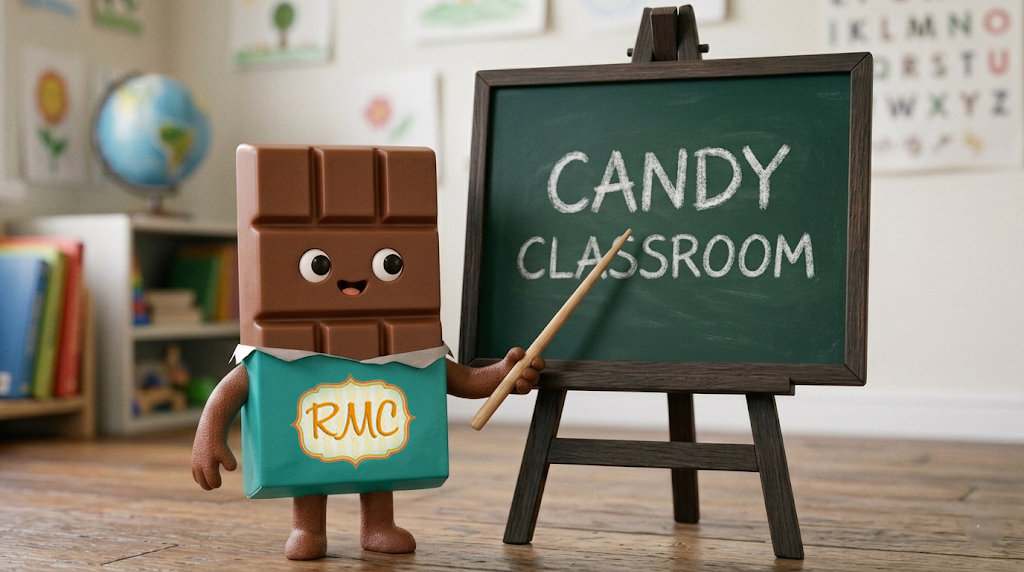
The rest of the site is yours. Browse by category, check out the Candy Classroom when you want to understand why something works, and don’t be surprised when something that looked impossible suddenly isn’t.
One more thing worth saying: even experienced candy makers have batches that don’t go the way they planned. What these four recipes give you, beyond the skills themselves, is a foundation for understanding what went wrong when something does. That’s worth more than any single successful batch.